How To Make Delicious Brazil Nut Cheese
How To Make Delicious Brazil Nut Cheese
Did you know that Brazil nuts cheese is a flavor-filled dairy-free and gluten-free option to traditional cheeses? Here’s what you need to know about this delicious vegan cheese option!
Have you ever had cheese made out of Brazil nuts? While you may not have heard of it until now, Brazil nut cheese is a tasty indulgence to enjoy. This smooth and creamy cheese not only offers a vegan alternative to traditional cheeses, but it is also organic, soy-free and gluten free. Here is how to make Brazil nut cheese.
How to prepare Brazil nuts to make Brazil nut Cheese
When being used to make cheese, Brazil nuts need to be soaked to help soften them before using in a Brazil nut cheese recipe. Due to their large size and firm texture, you will need to cover with cold water and soak for at least six to eight hours, or even overnight.
Blend your Brazil nuts to make Brazil nuts cheese
After your Brazil nuts have been soaked, drain the water off of the Brazil nuts and make sure they are thoroughly dry. Peeling the Brazil nuts is not necessary, since their skins will dissolve and become part of the mixture. Depending on your preferred recipe, you may add in a few additional ingredients including oil and lemon juice. Your favorite spices and herbs can also be added at this time.
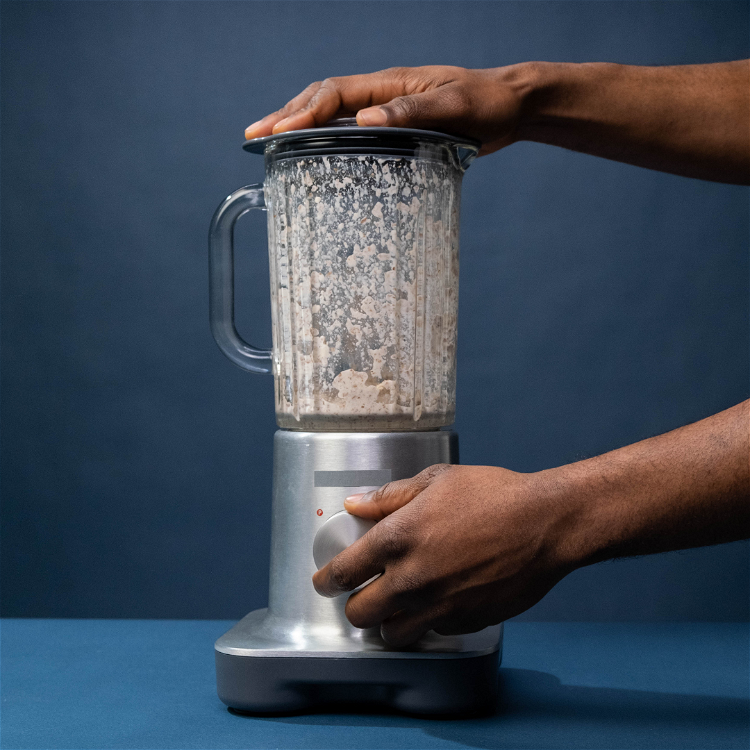
Using a blender or a food processor, you’ll want to chop the Brazil nuts very finely. You may need to pause occasionally and scrape the sides of the processor several times while doing this to make sure everything is fully blended.
Strain to remove the extra nut milk
To remove the extra nut milk, use a cheesecloth or nut milk bag to strain the mixture and remove the excess moisture. This process does require lots of squeezing, but will help prepare your Brazil nut cheese to enjoy.
Ferment your Brazil nut cheese
Allowing your Brazil nut cheese to ferment can add additional flavor. The length of Brazil nut cheese fermentation does vary depending on the recipe and desired results. Some recipes will also call for yeast, probiotic or other ingredients to help speed this step.
Add flavour to your Brazil nut cheese
Additional flavor can be added to your Brazil nut cheese during or after fermentation. Some common ingredients added to nut cheese are garlic, parsley, thyme, salt, pepper, rosemary and more. Experiment with your favorite flavors to get custom Brazil nut cheese that you and your family enjoys.
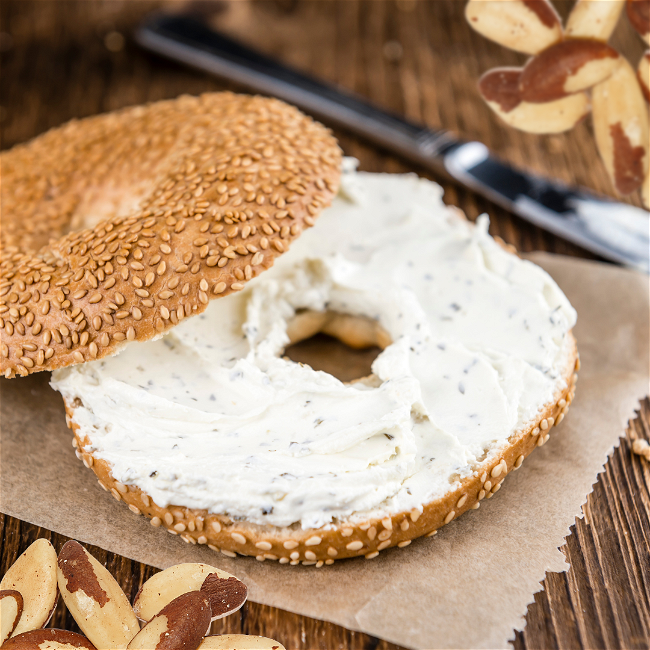
Making Brazil nuts cheese is a delicious way to enjoy vegan, dairy-free cheese right at home. Nutty, rich and full of flavor, Brazil nut cheese is an excellent vegetable-based protein packed addition to recipes, and can also be enjoyed with crackers or on bread. You’ll find that Brazil nut cheese recipes are easy to make even for first-timers and many recipe variations from cream cheese to cheese balls and spreads are available. If you think you’re ready to take on this Brazil nut cheese recipe, then take a look at these premium quality Brazil nuts
Category
Appetizer
Prep Time
48 hours
Author:
Gillian Brady
This silky smooth, creamy cheese not only offers a vegan alternative to traditional cheeses, but it is also soy free and gluten free!

Ingredients
-
- 1 cup raw Brazil nuts, soaked for 5-8 hours
- 1 tablespoon nutritional yeast
- 3 teaspoons raw apple cider vinegar
- 3/4 cups filtered water
- 1/4 cup za’atar
- Salt, to taste
Directions
Blend all the soaked Brazil nuts, nutritional yeast, apple cider, water, and salt by blender and continue until it becomes a smooth consistency.

Grab a glass bowl and place it in the sink. Using a nut milk or sprouting bag, pour the entire contents of the blender into the nut milk bag and squeeze out as much moisture as possible. Once the mixture is slightly moist but slightly crumbly, keep it in the bag and place it into a ramekin. Allow the nut cheese to sit on the counter for two full days, checking it periodically to make sure that it is fermenting safely. It should smell slightly sour, but not foul.
After two days, remove from ramekin gently and roll out of the nut milk bag. Put the cheese on a small plate, without the ramekin, free standing and refrigerate for one more day.
Once the cheese is set, pour the za’atar onto a flat surface and roll to cover the whole cheese ball.
Unlock Exclusive Deals!
Be the first to know about our special promotions, new arrivals, and more when you sign up for our newsletter.
Sign up to get our latest ebook
Comments
I made this and it turned out sublime – - thank you! How do I rate the recipe?


